
No products
Prices are tax included


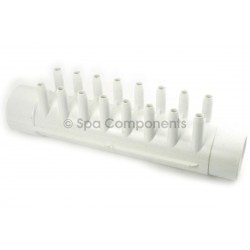
Waterway Mini Storm Diffusers
218-6930
New product
Broken Waterway Jets?
Replace only the rear piece and save money.
More info
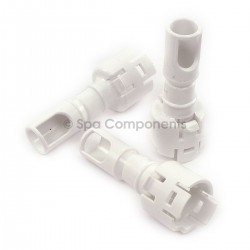
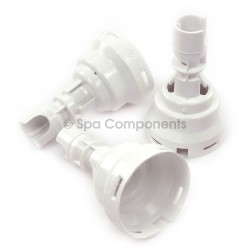
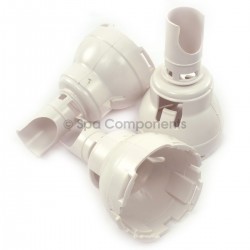
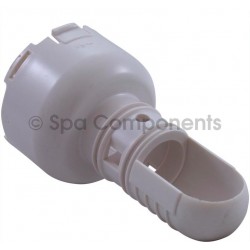
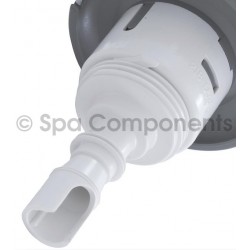
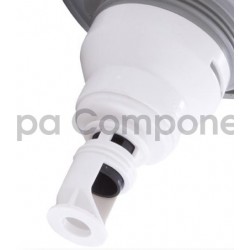
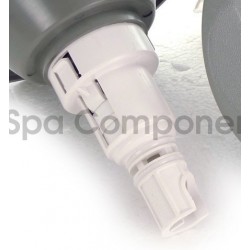
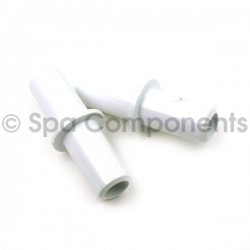
Rear white plastic part of Waterway Mini Storm jets known as the diffuser.
The outside diameter of the diffuser is 44mm.
Helpful Sales hint :
Diffusers are an excellent purchase, not only because of the money savings but also because it does not matter what the jet is like at the front. It could be grey, white, black or stainless steel jet. The front face could be smooth, textured or scalloped. It could have a single nozzle, a twin rotational nozzle or something else. There are so many different jets BUT because you are only replacing the rear piece you have already overcome the sometimes head scratchingness difficulty of trying to find the exact jet.
We continue to be the only supplier in Europe offering ALL of the Waterway diffusers and we always have at least x500 of each type in stock. Yes we have hundreds of complete jets in stock and we are happy to help you buy these, but we also offer the most obvious "save money" alternative which is by replacing the only piece that has actually broken on the jet.
Diffusers are ONLY the rear piece of the jet - NO OTHER parts come with the diffuser. If you are missing other pieces from your jet, you will need to buy a complete jet.
HOW TO FIT DIFFUSERS:
Whilst it looks easy when you compare the new diffuser to the back of the original face and think...MMMmmm - that just snaps on? - by doing so you will invariably break the small piece of rim plastic (rectangular hole) on the new diffuser.
The best method:
Heat some water (boiled) and keep it simmering in a saucepan.
You need to heat just a small amount of the circumference of the new diffuser.
Pop the diffuser (only the first 1-2mm of the plastic) into the water for around 1 second and then immediately offer to the old jet face and then apply very equal downward pressure.
It's best to have the old face already positioned on a tea towel on the kitchen work surface (you get the idea I am sure) - that way it is nice and flat and ready for the downward pressure.
Don't try to hold the jet face in one hand and the diffuser in the other and offer them together that way because you'll unknowingly be applying unequal pressure. You may notice that the new diffuser has bevelled edges around the rectangular holes, to allow the clipping on. We have found that if you apply too much heat to the diffuser (i.e. keeping it in the water for longer than a very quick "in and out"......hence the 1 second) and as it begins to "ride over" the clips on the jet face, it will remain splayed (the plastic is too soft from the heat) and will not snap over correctly OR it will snap over but a very small piece of plastic will remain which seams to want to bend outwards. This doesn't really matter but it might make you feel that the diffuser hasn't gone completely over.
Make sure you have identified how the diffuser locates onto the jet - it will only clip into one position - there are plastic lugs to help you identify the correct location.
One more thing - you will have the actual jet part (the eyeball or the rotating part of the jet) which lives between the diffuser and the face. You can either place/balance this on the jet face on the tea towel or place it into the diffuser after you have warmed it. They generally sit quite happily inside the diffuser without falling out - have a dry run and see the way you feel most comfortable.
8 other products in the same category:

Customers who bought this product also bought:
-
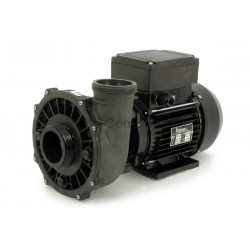
2hp...
This pump is no longer available to buy since...
-
Pipe joiner...
Coupler 3/4" SB to 3/4" SB. Used to join 3/4"...
£5.74
-
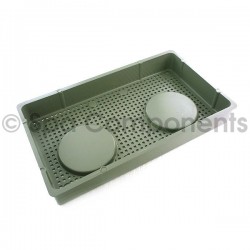
Basket -...
Item number 6 in the exploded diagram. 370mm x...
£53.17
-
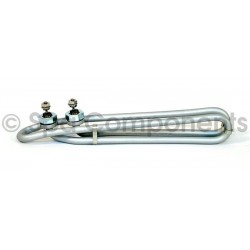
2kw Standard...
These are the highest grade of element in...
£36.92
-
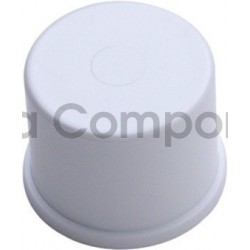
Plug End 1"
Spigot fits into 1 inch socket fittings, to cap...
£1.44
-
Air manifold...
Hot tub air manifold
£10.21
-

Spa Non...
AquaSpakle Non Chlorine Shock Granules (1 kg)....
£19.80
-
£31.91
-
2" Seals -...
Gate valve seals for 2" Praher Gate Valves....
£19.97
-
Balboa panel...
Sold individually
£2.32